Building Your Own Wooden Veranda to Extend Your House: DIY Doors, Windows, and Frame Construction
Transforming your home with a charming wooden veranda offers not only additional living space but also a cosy retreat to savour your garden throughout the year. Whether you fancy a sheltered spot to enjoy a cuppa on a drizzly afternoon or a stylish extension to entertain guests, a timber veranda can add both practical value and aesthetic appeal to your property. Embarking on a DIY veranda project allows you to tailor every detail to your personal taste whilst potentially saving a considerable sum compared to hiring professional contractors.
Planning your timber veranda extension: from concept to council approval
Assessing your space and defining your veranda's purpose
Before you roll up your sleeves and dive into the construction, take a moment to carefully consider what you want from your new veranda. Are you after a relaxed outdoor lounge where you can unwind with a book, or perhaps a semi-enclosed dining area that lets you enjoy alfresco meals even when the weather turns? Understanding the purpose of your veranda will guide every decision, from its dimensions to its design features. Measure the available space meticulously, taking note of any existing structures, garden features, or boundaries that might influence the layout. This initial assessment is crucial because it informs not only the size and shape of your veranda but also the materials you will need and the overall budget for the project.
Consider the orientation of your proposed veranda as well. A south-facing structure will benefit from maximum sunlight, making it ideal for year-round use, whilst a north-facing veranda might be cooler and more suitable for summer shade. Think about how the veranda will integrate with your existing home and garden. Will it extend seamlessly from a set of patio doors, or will it stand as a distinct feature in your outdoor space? Sketching out a rough plan on paper can help you visualise the finished project and identify any potential challenges before you begin.
Navigating planning permission and building regulations
Once you have a clear vision of your timber veranda, it is time to address the less thrilling but absolutely essential matter of planning permission and building regulations. In many cases, a veranda can be constructed under permitted development rights, meaning you will not need formal planning permission. However, there are specific criteria that must be met. If your veranda is wider than the main building, deeper than three thousand millimetres when attached to the house or four thousand millimetres if detached, taller than three thousand millimetres, or features a raised platform exceeding three hundred millimetres in height, you may well need to submit a planning application to your local council.
Even if planning permission is not required, building regulations may still apply, particularly if your veranda includes electrical installations, significant structural changes, or if it is intended for habitable use throughout the year. It is always wise to check with your local authority before you start any work. A quick phone call or email can save you from potential headaches down the line, ensuring that your DIY veranda complies with all relevant rules and regulations. Better safe than sorry, as they say.
Materials and Design Choices for Your Wooden Veranda Build
Selecting timber, roofing options, and weatherproofing elements
The choice of materials will have a significant impact on both the appearance and longevity of your veranda. Timber is the star of the show here, and opting for pressure treated timber is highly recommended. This treatment process ensures that the wood is protected against rot, decay, and insect damage, which is particularly important for outdoor structures exposed to the British weather. When selecting your timber, consider the grade and quality carefully. Higher-grade wood may cost a bit more upfront, but it will stand the test of time and require less maintenance in the long run.
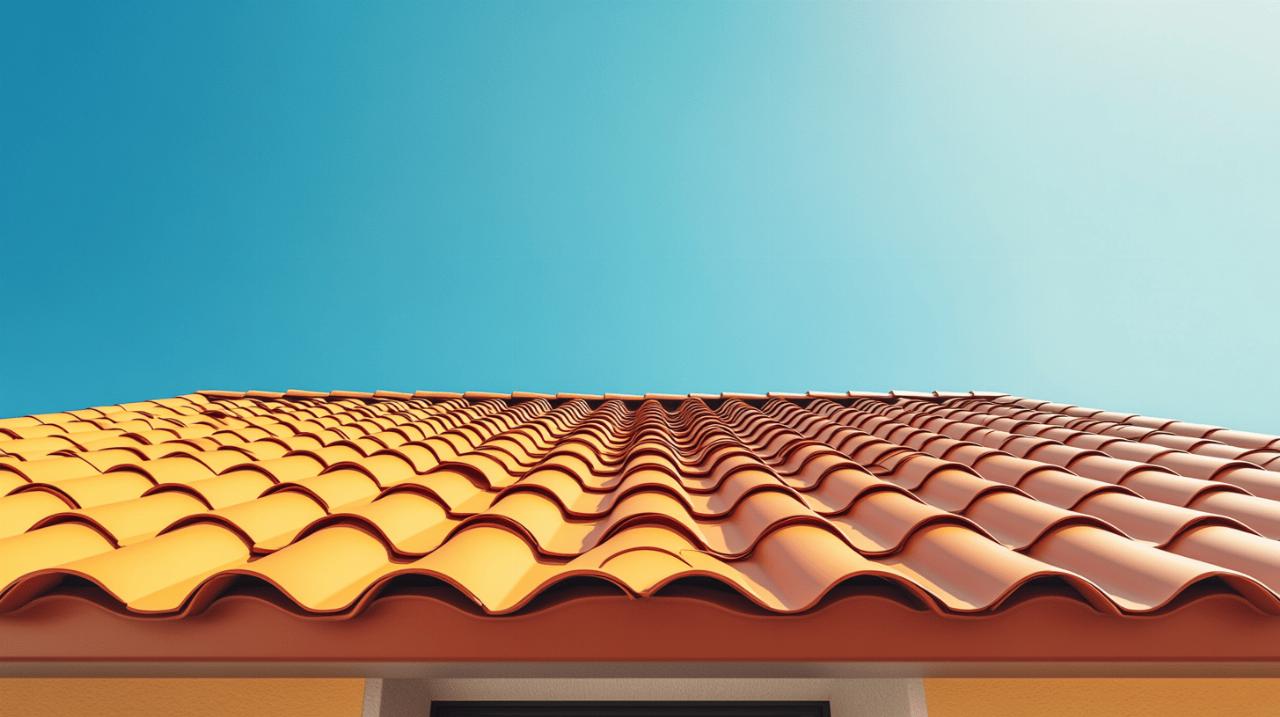
Roofing is another critical element. Corrugated PVC sheets are a popular choice for DIY veranda projects due to their affordability, ease of installation, and excellent weather resistance. A thickness of around one point one millimetres is often recommended, as thinner options may not provide sufficient durability. Alternatively, you might consider a flat roof design, which can offer a sleek, modern aesthetic whilst allowing for easier integration with the existing roofline of your house. For those seeking a more traditional look, extending the main roof or creating a separate pitched roof can add character and charm to your veranda.
Weatherproofing elements such as guttering, sealants, and cladding are essential to ensure that your veranda remains dry and comfortable in all conditions. Investing in quality adhesives and sealants will help prevent draughts and moisture ingress, whilst proper guttering will direct rainwater away from the structure and your home. Do not overlook the importance of insulation, especially if you plan to use the veranda throughout the year. Insulation boards or rolls can be fitted between the frame and any internal cladding, creating a snug and energy-efficient space that can be enjoyed even during the colder months.
Diy build versus veranda kit: weighing your construction options
When it comes to constructing your wooden veranda, you have two main routes to consider: building entirely from scratch or purchasing a veranda kit. Each approach has its advantages and challenges, and the right choice depends on your budget, skill level, and how much customisation you desire. A kit can simplify the process considerably, as it typically includes pre-cut timber, fixings, and detailed instructions, making it a straightforward option for those with less experience in carpentry. Kits also tend to come with guaranteed dimensions and materials, reducing the risk of errors and waste.
On the other hand, building your veranda from scratch offers unparalleled flexibility. You can tailor every aspect of the design to suit your specific needs and preferences, from the size and shape to the placement of doors and windows. This bespoke approach allows you to create a truly unique structure that complements your home and garden perfectly. Moreover, by sourcing materials yourself and shopping around for the best deals, you can potentially achieve significant cost savings. One enthusiastic DIY builder managed to complete his veranda for around four hundred and thirty-one pounds and ninety-six pence, whilst a professional contractor might have charged in the region of two thousand two hundred pounds. By adding decking and guttering, his total outlay reached approximately eight hundred and eighty-one pounds and ninety-six pence, still representing a saving of well over a thousand pounds compared to hiring a tradesperson.
Whichever route you choose, careful planning is essential. Draw up a detailed construction plan that outlines each stage of the build, from erecting the frame to installing the roof and fitting doors and windows. This roadmap will keep you on track and help you anticipate any challenges before they arise. If you are opting for a kit, read the instructions thoroughly before you begin and ensure you have all the necessary tools and materials to hand. For a self-build project, consider seeking advice from online forums, DIY communities, or even consulting with a local builder to ensure your plan is sound and achievable.
Constructing the Frame and Installing the Roof Structure
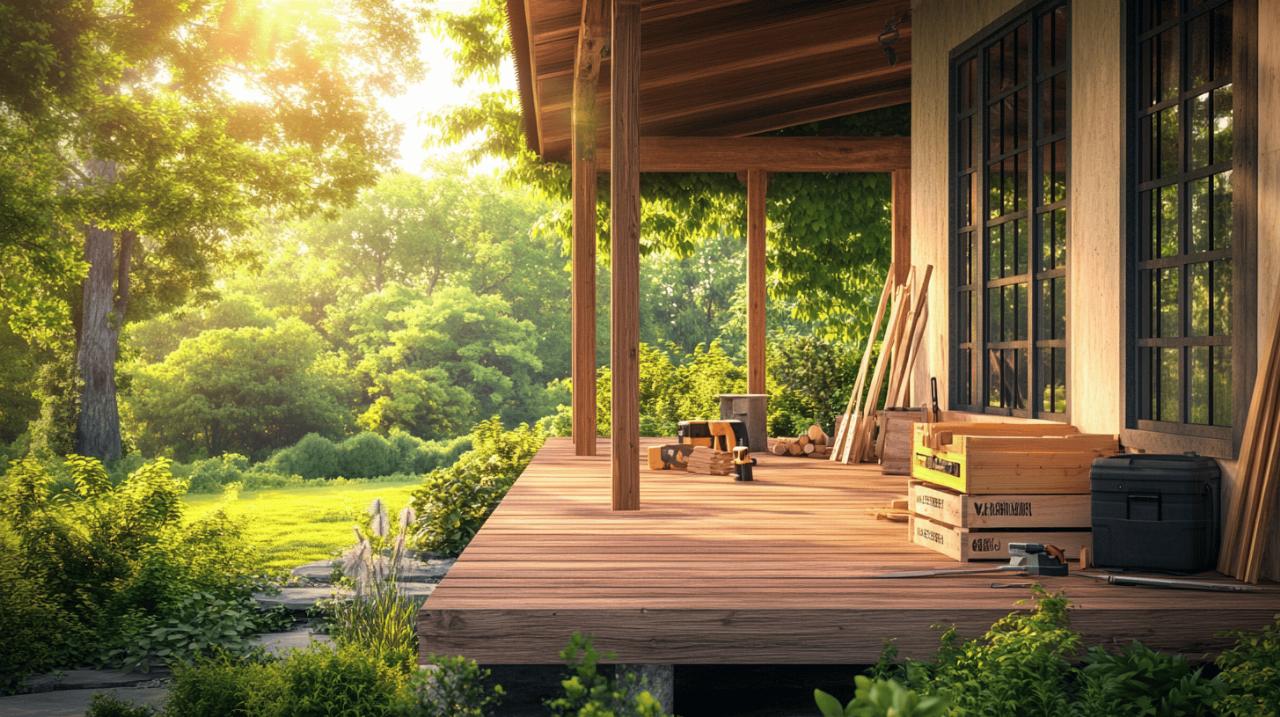
Erecting a solid wood frame: step-by-step construction guide
The frame is the backbone of your veranda, and getting it right is crucial for the stability and longevity of the entire structure. Begin by preparing the foundation. Depending on the size and intended use of your veranda, you may need to lay a concrete base or install sturdy posts set into the ground. For smaller structures, a gravel or paving slab base may suffice, but for larger or more permanent verandas, a solid concrete foundation is advisable. Ensure the base is level, as any unevenness will cause problems later on when you come to fit the frame and roofing.
Once the foundation is ready, you can start erecting the frame. Measure and cut your timber according to your plan, taking care to double-check all dimensions before making any cuts. Assemble the vertical posts first, securing them firmly to the base and ensuring they are perfectly upright using a spirit level. Horizontal beams can then be fixed between the posts to create the main structure. These beams will support the roof and provide the framework for any walls, cladding, or glazing you plan to install. Use heavy-duty screws and fixings to ensure everything is securely fastened, and consider adding diagonal braces for extra stability, especially in areas prone to strong winds.
As you build, keep referring back to your plan and your measurements. It is all too easy to get carried away and make a mistake that will be costly to rectify later. If you are working alone, enlist the help of a friend or family member to hold timber in place whilst you secure it. Safety should always be a priority, so wear appropriate protective gear such as gloves, goggles, and sturdy footwear. With patience and attention to detail, you will soon see your veranda frame taking shape, transforming your vision into reality.
Roofing installation and ensuring weatherproof sealing
With the frame firmly in place, it is time to turn your attention to the roof. The roof is arguably the most important element of your veranda, as it provides protection from the elements and defines the overall character of the structure. If you are using corrugated PVC sheets, begin by measuring and cutting the sheets to fit the dimensions of your frame, allowing for a slight overhang to ensure rainwater runs off effectively. Lay the sheets from the bottom upwards, overlapping each sheet slightly to prevent water from seeping through the joints.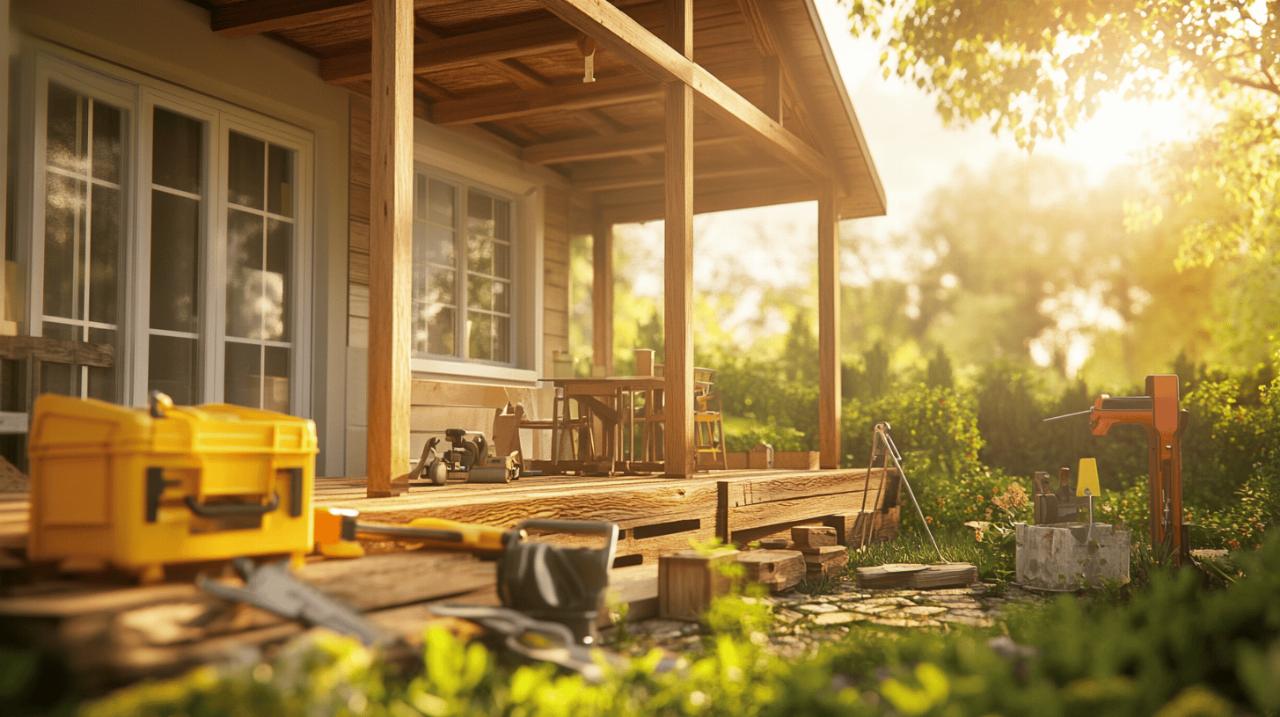
Secure the sheets to the frame using suitable fixings, ensuring they are driven through the peaks of the corrugations to avoid creating weak points where water might collect. It is worth investing in quality fixings that include rubber washers, as these create a watertight seal around each screw. If you are opting for a flat roof design, you will need to lay a waterproof membrane over a solid substrate, such as OSB boards, before adding any finishing materials. Whichever roofing option you choose, pay close attention to the joints and edges, as these are the most vulnerable areas for leaks.
Sealing is vital to ensure your veranda remains dry and comfortable in all weathers. Apply a generous bead of weatherproof sealant along all joints and around any fixings, and consider adding flashing where the veranda roof meets the main house to prevent water from running down the wall. Guttering is another essential component, channelling rainwater away from the structure and preventing pooling around the base. Install guttering along the lower edge of the roof, ensuring it slopes gently towards a downpipe that directs water into a drain or water butt. With a well-sealed roof and effective drainage in place, your veranda will be ready to withstand whatever the British weather throws at it.
Finishing touches: insulation, doors, windows, and draught prevention
Fitting Doors and Windows for Year-Round Comfort
Doors and windows are not merely functional elements; they also play a key role in the overall aesthetic and comfort of your veranda. If you plan to use the space throughout the year, consider installing doors with good thermal performance and secure locks. Glazed doors, such as sliding patio doors or French doors, allow light to flood into the veranda whilst providing easy access to the garden. Ensure that the door frames are accurately measured and fitted, as any gaps will lead to draughts and heat loss.
Windows offer ventilation and additional light, making the veranda feel more like an extension of your home rather than a simple outdoor shelter. Choose windows that complement the style of your veranda and your house, whether that is traditional casement windows, modern tilt-and-turn designs, or even fixed glazing panels. If you are on a budget, consider sourcing reclaimed windows or doors, which can add character and charm whilst keeping costs down. Just be sure to check that they are in good condition and can be properly sealed and secured.
When fitting doors and windows, take your time to ensure they are level and square within their frames. Use expanding foam or sealant around the edges to fill any gaps, and fit draught excluders to the bottom of doors to prevent cold air from creeping in. Well-fitted doors and windows will not only enhance the comfort of your veranda but also improve its energy efficiency, making it a pleasant space to enjoy throughout the seasons.
Sealing Gaps and Adding Insulation for Energy Efficiency
Even the most carefully constructed veranda will have small gaps and joints that can allow draughts and moisture to enter. Sealing these gaps is essential for creating a comfortable and weatherproof space. Walk around your completed structure and inspect every joint, corner, and edge. Apply a high-quality sealant wherever you find gaps, paying particular attention to areas where different materials meet, such as where timber meets glass or where the veranda connects to the main house. Silicone or polyurethane-based sealants are both excellent choices for outdoor use, as they remain flexible and weather-resistant over time.
Insulation is another key factor in making your veranda usable year-round. If you have installed walls or cladding, consider fitting insulation boards or rolls between the timber frame and the internal lining. This will help to retain heat in winter and keep the space cooler in summer, reducing your reliance on additional heating or cooling. For the roof, insulation can be fitted beneath the roofing material, either as rigid boards or as flexible rolls. Plasterboard can then be fixed to the underside of the rafters to create a neat, finished ceiling that conceals the insulation and adds a polished look to the interior.
Do not forget the floor, especially if your veranda is raised. Insulating beneath the decking or flooring will prevent cold air from rising through the boards and improve overall comfort. With proper sealing and insulation in place, your veranda will be a cosy, energy-efficient retreat that you can enjoy throughout the year, whatever the weather. A bit of elbow grease and careful planning will transform your outdoor space into a delightful extension of your home, adding both practical value and a touch of charm to your property.